
The short answer
Thermal imaging finds the warm plume from a hot-water line, acoustic listening equipment picks up the pressurized hiss through concrete, and tracer gas confirms it. Together they mark the spot to within about six inches, so the repair opens one small area of slab instead of the whole floor.
A slab leak is a supply line failure inside or beneath the concrete your house sits on. There is no visual access, no sound you can localize by ear, and no obvious relationship between where the symptom shows and where the pipe is leaking.
Which leaves two approaches: guess and cut, or measure and cut once.
Step 1: confirm there is actually a leak
Before any equipment comes out. Shut off every fixture and appliance including the ice maker and irrigation, note the meter reading, wait thirty minutes. Movement confirms it.
Step 2: isolate which system
This is where a lot of search time gets saved, and it costs nothing.
- Close the irrigation valve and repeat the meter test. Stops moving? It is irrigation, and the search is outdoors.
- Close the cold inlet on the water heater and repeat. Stops moving? It is on the hot side — by far the more common slab leak, because higher temperature accelerates both corrosion and thermal cycling.
- Isolate branch valves where the plumbing allows, to narrow it to a section of the house.
By the end of this, an experienced technician has usually reduced the search area by two-thirds without touching anything.
Step 3: thermal imaging
A hot-water leak beneath a slab warms the concrete above it, and that warmth shows on an infrared camera as a clear line following the pipe run. Cold-water leaks show the opposite — a cool area from evaporative cooling.
Thermal works through most floor coverings and it is fast. On a hot-water leak it frequently gets us to within about three feet in a matter of minutes.
Its limits: it is much weaker on cold-water leaks, and heavy stone or thick tile with a substantial mortar bed blunts the signal.
Step 4: acoustic pinpointing
This is the step that turns "within about three feet" into "within six inches."
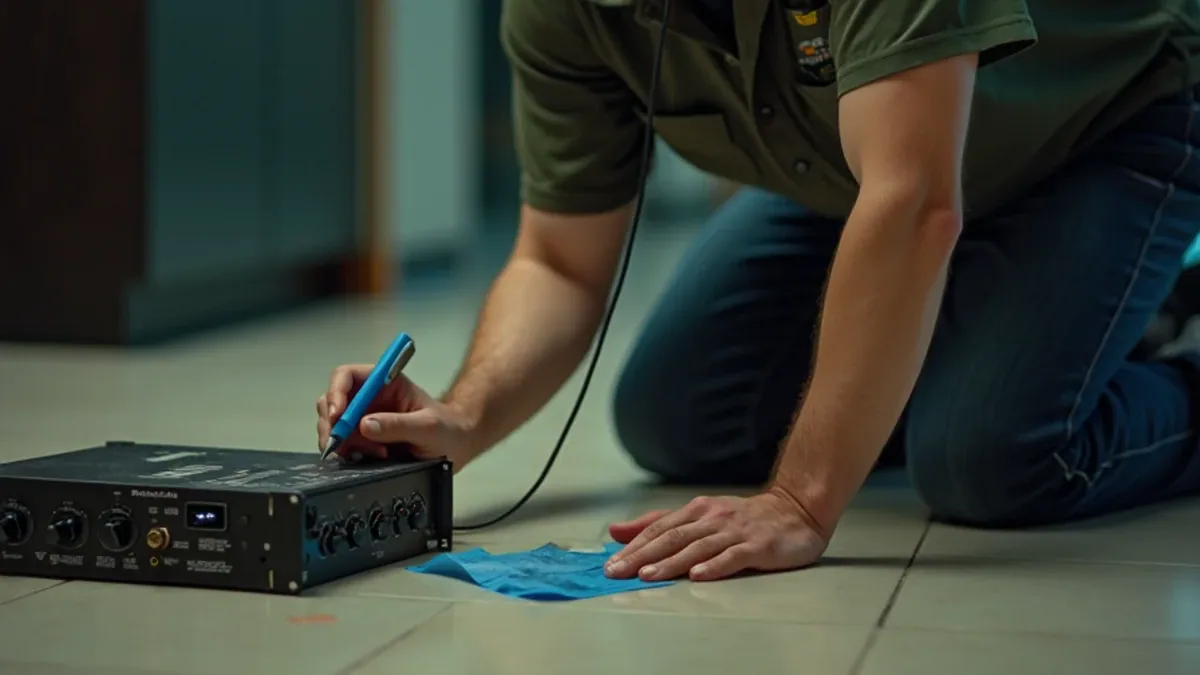
Pressurized water escaping through a small opening makes a distinctive sound, and that sound travels through the pipe and through the surrounding concrete. Ground microphones and a high-gain amplifier let a technician listen at points across the floor and follow the sound to its loudest point.
It requires a quiet house — appliances off, HVAC off, ideally traffic noise low — and a lot of practice. The signal is subtle and it is easy to be fooled by the resonance of the pipe itself.
Step 5: tracer gas, for the hard ones
When acoustics are defeated — a very deep slab, a leak under stone or hardscape, high ambient noise, or a cold-water leak with no thermal signature — tracer gas is the most precise method available.
The affected line is drained and an inert hydrogen-nitrogen mix is introduced under pressure. Hydrogen is the smallest molecule there is; it escapes through the opening and migrates up through the slab. A sensitive gas detector then follows it to the surface, marking the point directly above the leak.
It takes longer and requires draining the line, which is why it is not the first tool. It is also the one that works when nothing else does.
What happens after the mark goes down
We mark the location, photograph it, and produce a written detection report. The plumber then opens one small area — commonly twelve to eighteen inches square — cuts out the failed section and repairs it.
Where the leak sits under something that genuinely cannot be opened — a stone floor, a kitchen island, a tiled shower base — a reroute avoids breaking the slab entirely: the failed line is abandoned in the concrete and a new run goes overhead through the attic and down inside walls.
Then the restoration: drying the slab, which is Class 4 and takes seven to fourteen days, plus the wall bases the leak already wetted. See slab leak water damage restoration and leak detection.
This is our most frequent detection work in the slab-on-grade housing through De La Fuente and across Pleasant Hill.
Frequently asked
How do professionals find a slab leak?
In sequence: confirm the leak with a meter test, isolate whether it is hot, cold or irrigation by closing valves and retesting, thermal image the floor to find the warm line of a hot-water leak, then acoustic pinpoint with ground microphones to narrow it to within about six inches. For deep, hardscaped or acoustically difficult locations, tracer gas is introduced into the drained line and followed to the surface.
How accurate is slab leak detection?
Typically within about six inches using thermal plus acoustic on a hot-water leak, which means the plumber opens one small area of roughly twelve to eighteen inches square rather than exploring. Tracer gas is more precise again and is what we use when acoustics are defeated by depth, stone flooring or ambient noise.
Can a slab leak be fixed without breaking the concrete?
Sometimes, with a reroute. The failed line is abandoned in the slab and a new run is installed overhead through the attic and down inside walls to the fixtures it serves, so the concrete is never opened. It is particularly worth considering when the leak sits under stone, a kitchen island, a tiled shower base, or flooring that is discontinued or irreplaceable.
Why not just cut the floor where the warm spot is?
Because the warm spot marks where heat reached the surface, not necessarily where the pipe failed — heat spreads through concrete and the pipe run may be offset. Water also travels along the pipe trench before rising. Acoustic pinpointing corrects for both, and the cost of detection is a small fraction of one unnecessary opening in the wrong place, let alone the two or three we sometimes find already cut.